
You will find tons of great tips and tricks, presets and hacks, tutorials and inputs about how to achieve incredible results when editing images. And a lot of information you find out there is about Adobe Lightroom. In this short article, I want to tell you why I prefer a workflow without Lightroom. And why I love Camera Raw in combination with Adobe Bridge. I can’t really tell, what way may be the best – simply because I’m sure that there isn’t a best way to grade photos. And after all, it may be that I’m blind because of love and can’t judge rationally anymore. If so – please let me know.
Compatibility
It’s been a few years ago now that I used to work with Lightroom back when it was launched (or shortly after the launch) and it was a stunner. What a good feeling having all you need in one goodlooking and intuitive place. Being able to use tags and ratings, edit metainformation and export the whole story exactly how you need it and with one click. Bottomline: A wonderful idea.
The accident
But then one day, it happened (and when I’m not mistaken, there were no TimeMachine or clouds yet) – I had to move my data to a whole new environment because of troubles with my HD. I suddenly felt the dependence and how I have to rely on Lightroom throughout the whole workflow from import to publishing. And that just didn’t feel right. On my newly set up machine, I wanted to organize images manually by folders (years and topics) in my finder. But a switch of all images already imported by LR to a handmade folder structure was too much pain. That’s when I said goodbye to Lightroom because: Once you start using it, you better keep using it. I just didn’t want to allow Lightroom gaining any more influence on how I’d feel when having trouble with my computer again.
Adobe Bridge
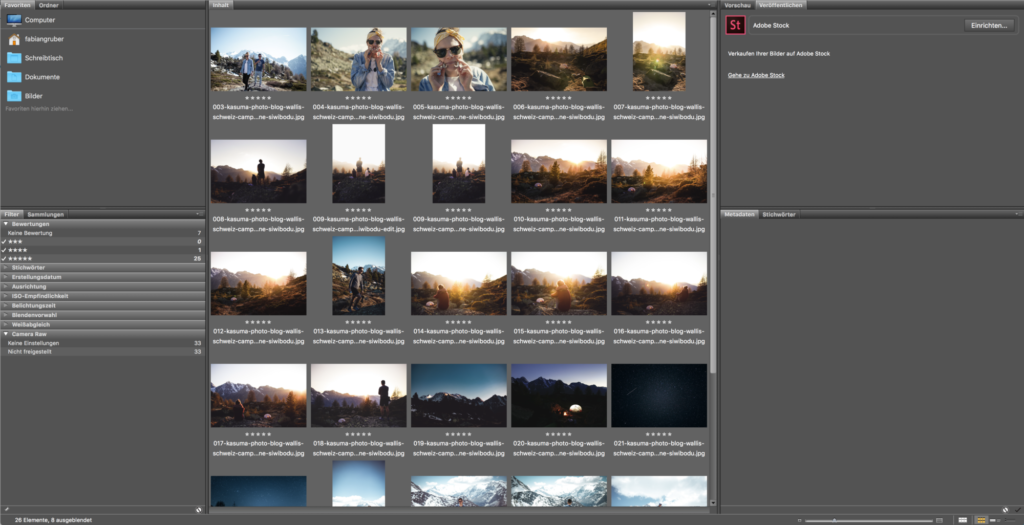
When I import new images from my SD Card, I plug it in, copy and paste the date to a folder called «x-raw» which is placed in a folder called «001-indonesia-2017» which is placed in a folder called «2017-fotos».

This is a structure completely independent of any software. You may sync it with your paid google drive plan or a dropbox or with your personal NAS backup and you may change your mind a 100 times – this structure stays like it is, it’s clear and easy to navigate and in an order you defined by your own criteria. And no matter to where you move that «2017-fotos» folder, Adobe Bridge takes it how it is – and doesn’t judge you or the photos or your folder structure. So once my images are where I want them to have on my HD, I navigate through Adobe Bridge to that «x-raw» folder and start the one part which can be long and painful: looking for those pictures worth editing. But since I use bridge, this is just half as painful because you just start on top, tab your spacebar and go trough your images. If I like one, I push «CMD + whatever your rating (between 1 and 5) you want to give that image», and so on. Since I’m not using a high and top device and Adobe Bridge just somehow runs smoother and less complex than Lightroom, the whole sorting workflow makes a lot more fun.
Editing with Camera Raw
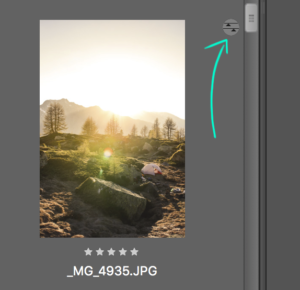
As soon as I want to edit an image, I rightclick it and open it with camera raw. In Camera Raw, you have the same options to edit images like you have in Lightroom. It may not look that fancy but it doesn’t have to look fancy. It has to work efficiently and smoothly. As soon as I’m finished with grading, I close the image. I don’t have to save any big files and neither does Camera Raw. It just generates a small and tiny XML file which contains all the information about the color-changes and thats it. You don’t even see that file if you don’t want to. Back in Bridge, a small mark on the right top of the image implicates that there are some changes to the original file.
The mentioned XML File which contains the intel about how the colors should look like, has A LOT of great advantages:
- I can copy the exact same preset to any other image
- It’s not bond to any system – I may continue working on a whole other Mac right where I stopped before (interesting when working in a cloud)
- The original file stays untouched
- I can save the corrections as a preset, send them around, correct them again, import them to Photoshop and more
- Amount of data stays on a low level
Since I’m syncing my images in a cloud, the XML goes to that cloud as well so, where ever I open up an image through Bridge and/or CamerRaw, the editing-style stays the same.
More useful functions in Bridge
You can add as much IPTC Meta-Information as you want to the photos. And you can do that in bulk. Another tool I love is the bulk rename function which let’s you edit the filenames of a whole folder. This is very useful for further web use of the images. When talking of web, you want to bring down the resolution to a level which supports your site performance and that’s what the image-processor-tool does in Adobe Bridge. So, when you’re ready to export out of Bridge, sort your raw folder by the images with 5 stars or by the images which contain CameraRaw editing, highlight them and hit the Photoshop Processor button. Easy and fast.
So what?
I’ve never written any review about post processing but the setup I’m using now feels very efficient and that’s why I wanted to share it. Especially, since the web is flooded by Lightroom. I think, Camera Raw in combination with Adobe Bridge is underestimated. Which is okay for me but I’m curios if anyone uses LR and thinks it’s all stupid here.